Running a private FTP / FTPS server on your Windows VPS, RDP, or dedicated server makes transferring large files, website backups, and automated data syncs fast and unrestricted. FileZilla Server is a free, open-source FTP and FTPS server that supports secure TLS encryption, granular user permissions, and high-speed multi-threaded transfers.
This comprehensive guide walks you through downloading, installing, configuring user directories and passive port ranges, and opening Windows Firewall rules on Windows Server (2016, 2019, 2022, 2025) and Windows 10/11.
Step 1: Download and install FileZilla Server
- Connect to your Windows Server via Remote Desktop (RDP).
- Download the latest official installer directly from the FileZilla Project Server page.
- Run the setup wizard:
- Accept the license terms.
- Leave default component checkboxes enabled.
- Under Startup settings, choose Install as service, started with Windows.
- Set an administration password for the local FileZilla management interface.
- Complete the installation and launch the FileZilla Server Administration interface.
Step 2: Create your dedicated FTP folder
Create a clean, dedicated folder on your storage drive to hold uploaded files:
- Open File Explorer and navigate to your desired drive (e.g.
C:\or secondary driveD:\). - Create a new folder named
FTP_Files(e.g.C:\FTP_Files).
Step 3: Create FTP users and assign directory permissions
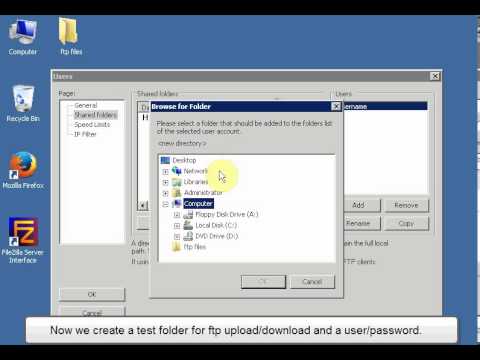
- In the FileZilla Server interface, navigate to Server > Configure > Users (or Edit > Users).
- Click Add to create a new user account (e.g.
ftpuser). - Set credentials to Require password to log in and enter a strong password.
- Under Mount points / Native Path:
- Virtual path:
/ - Native path: Browse and select your
C:\FTP_Filesfolder.
- Virtual path:
- Under Permissions, grant appropriate rights:
- Files: Read, Write, Delete, Append.
- Directories: Create, Delete, List.
- Click Apply and OK.
Step 4: Configure Passive Mode (PASV) and Port Ranges
For FTP clients to connect reliably from behind NAT routers and firewalls, configure a custom Passive Mode port range:
- In FileZilla Server, go to Server > Configure > Passive Mode.
- Under Port range, set a dedicated custom range (e.g., 50000 – 50050).
- Under External IP address, select Use external IP address from URL or enter your server’s public IP address.
- Click Apply.
Step 5: Open FTP ports in Windows Firewall
You must allow standard FTP port 21 and the Passive Port range through Windows Firewall.
Option A: Using 1-Line PowerShell commands (Fastest)
Open PowerShell as Administrator and run:
# Allow Port 21 (FTP Control)
New-NetFirewallRule -DisplayName "FTP Control Port 21" -Direction Inbound -Protocol TCP -LocalPort 21 -Action Allow

# Allow Passive Mode Ports 50000-50050
New-NetFirewallRule -DisplayName "FTP Passive Ports 50000-50050" -Direction Inbound -Protocol TCP -LocalPort 50000-50050 -Action Allow

# Allow FileZilla Server Binary
New-NetFirewallRule -DisplayName "FileZilla Server Application" -Direction Inbound -Program "C:\Program Files\FileZilla Server\filezilla-server.exe" -Action Allow
Option B: Using Windows Firewall GUI
- Press Win + R, type
wf.mscand press Enter. - Click Inbound Rules in the left pane, then click New Rule… on the right.
- Select Port > TCP > Specific local ports:
21, 50000-50050. - Select Allow the connection.
- Check all network profiles (Domain, Private, Public).
- Name the rule FileZilla FTP Server and click Finish.
Step 6: Connect and test from your client
On your local computer, open FileZilla Client (or WinSCP):
- Host: Your server’s public IP address
- Username: The user created in Step 3 (e.g.
ftpuser) - Password: Your FTP user password
- Port:
21
Click Quickconnect. You will see directory listing successful and can immediately drag and drop files to upload/download at gigabit speeds.