By default, Windows Firewall blocks all incoming Internet Control Message Protocol (ICMP) Echo Requests on Windows VPS, RDP servers, and Windows 10/11 instances. While blocking ping requests helps protect servers from automated network scanning, enabling ICMP is often necessary for monitoring uptime, diagnosing network latency (ping response times), or setting up third-party server monitors.
This guide explains how to enable ping on modern Windows systems (Windows Server 2016, 2019, 2022, 2025 and Windows 10/11) using both the Windows Firewall GUI and 1-line Command Prompt / PowerShell commands without compromising your overall firewall security.
Why does Windows block ping by default?
When you ping an IP address, your computer sends an ICMP Echo Request. If permitted, the remote host answers with an ICMP Echo Reply. Windows Firewall disables ICMP responses by default to prevent:
- Port Scanners & Reconnaissance: Attackers sweeping IP subnets to identify live, active Windows machines.
- ICMP Flood Attacks: Preventing malicious actors from overwhelming server network adapters with massive ping floods.
Security Tip: Never disable your entire Windows Firewall just to test ping. Instead, create a targeted ICMP exception as shown below.
Method 1: Enable ping using Command Prompt or PowerShell (Fastest)
Option A: Using PowerShell (Recommended for Windows 10/11 & Server 2016–2025)
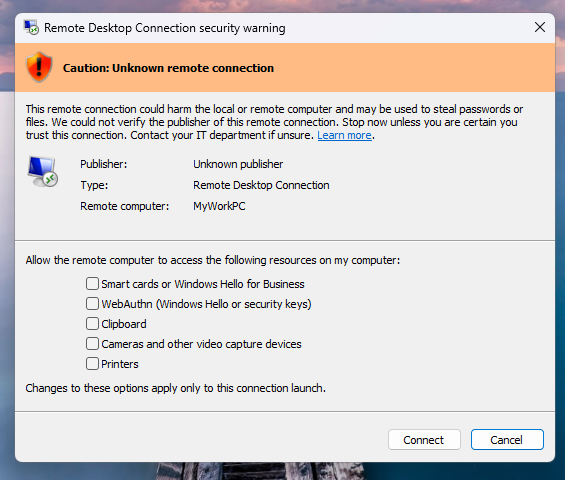
- Connect to your server via Remote Desktop (RDP).
- Right-click the Start button and select Windows PowerShell (Admin) or Terminal (Admin).
- To enable IPv4 ping, run:
netsh advfirewall firewall add rule name="Allow Inbound ICMPv4" protocol=icmpv4:8,any dir=in action=allow - Or using modern PowerShell cmdlet:
Enable-NetFirewallRule -DisplayName "File and Printer Sharing (Echo Request - ICMPv4-In)"
Option B: Using Command Prompt (CMD)
Open Command Prompt as Administrator and execute:
netsh advfirewall firewall set rule name="File and Printer Sharing (Echo Request - ICMPv4-In)" new enable=YesMethod 2: Enable ping using Windows Firewall GUI
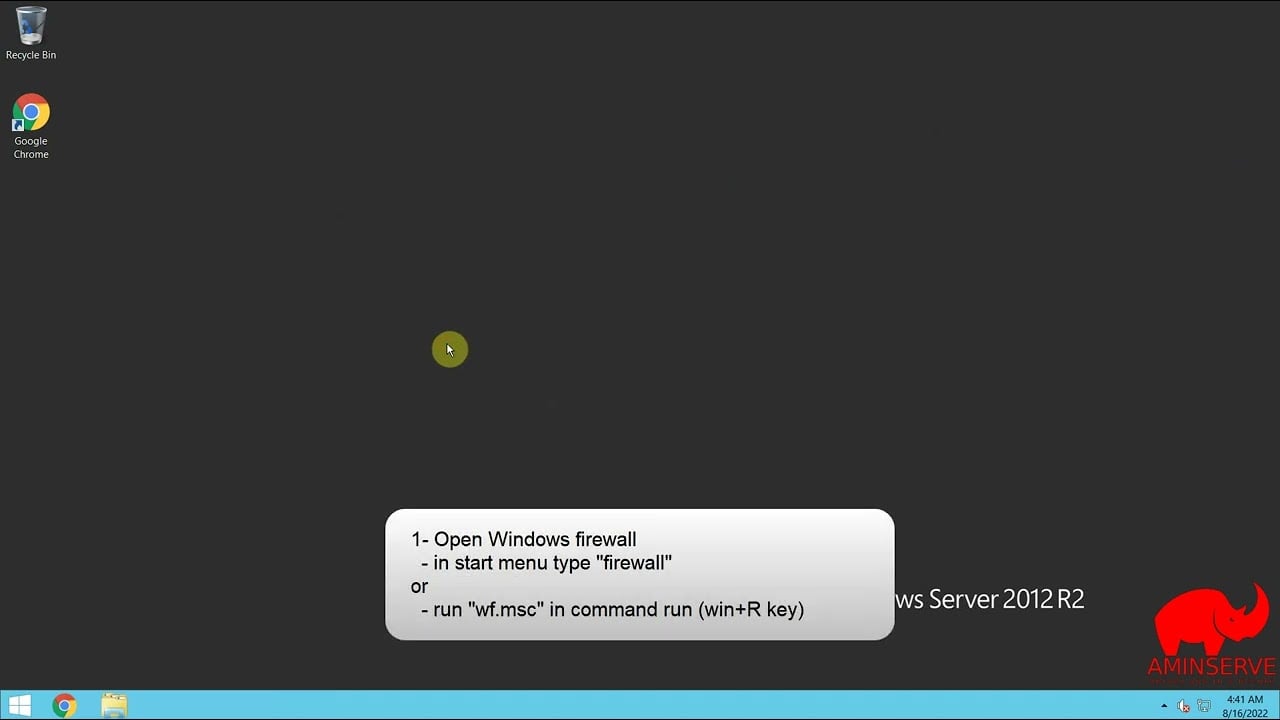
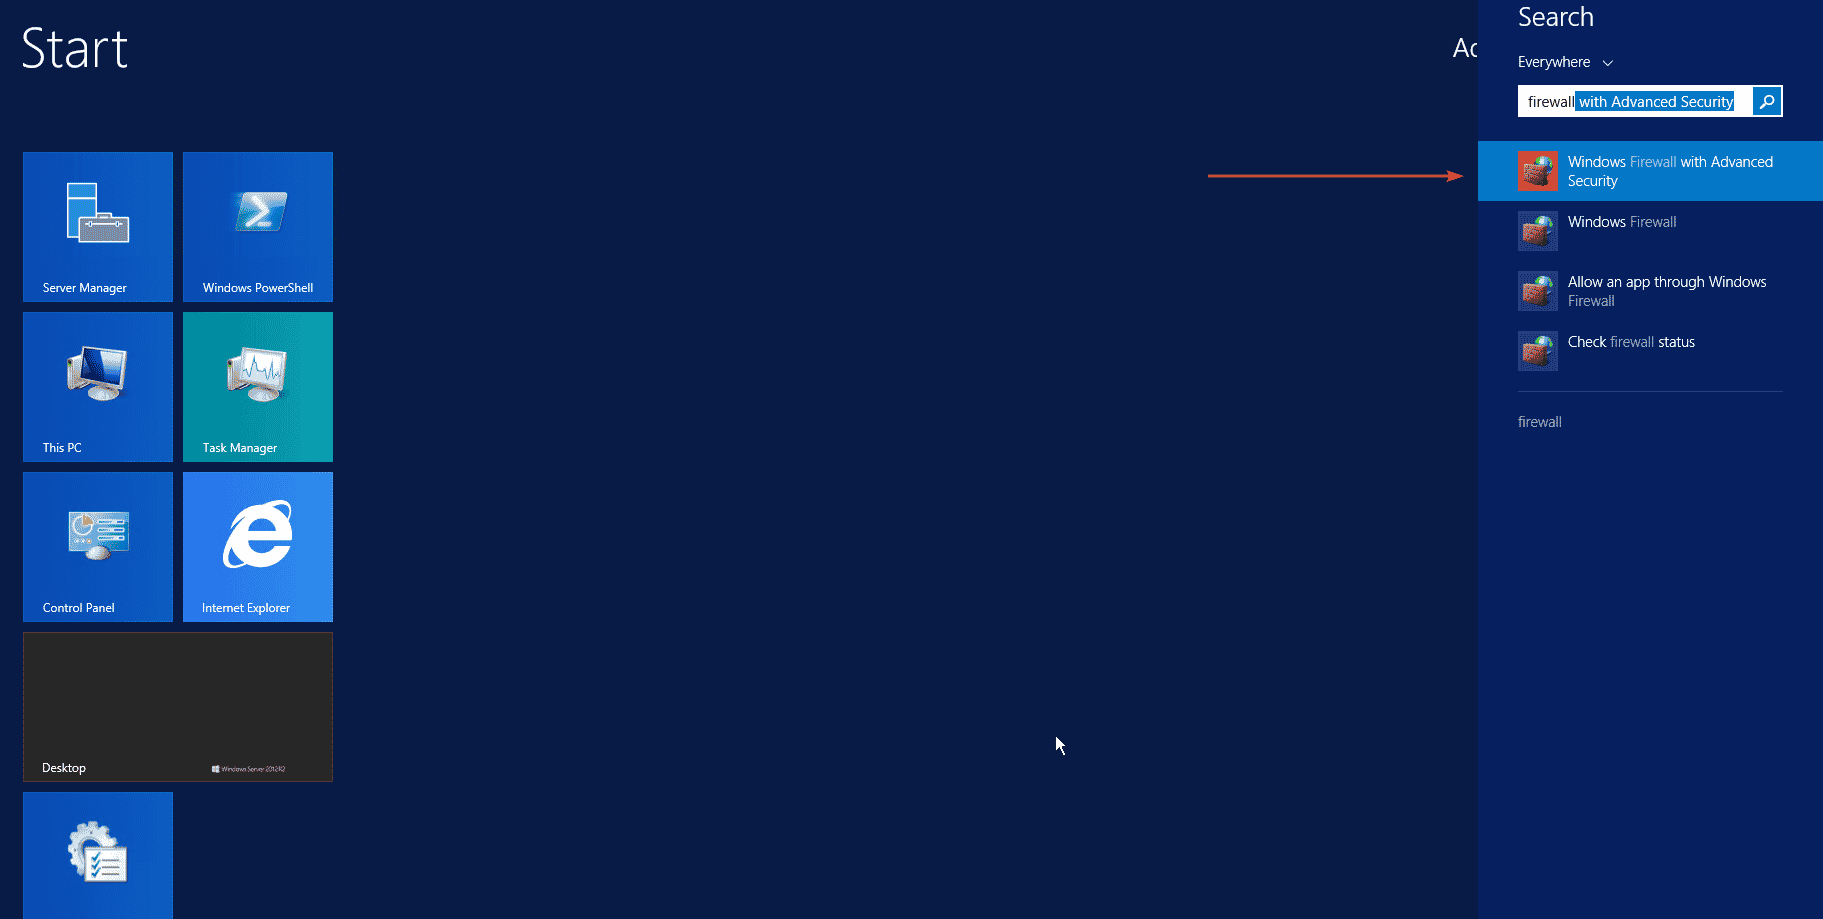
Step 1: Open Windows Firewall with Advanced Security
- Press Win + R on your keyboard, type
wf.mscand press Enter. - Or search for “firewall” in the Start menu and select Windows Defender Firewall with Advanced Security:
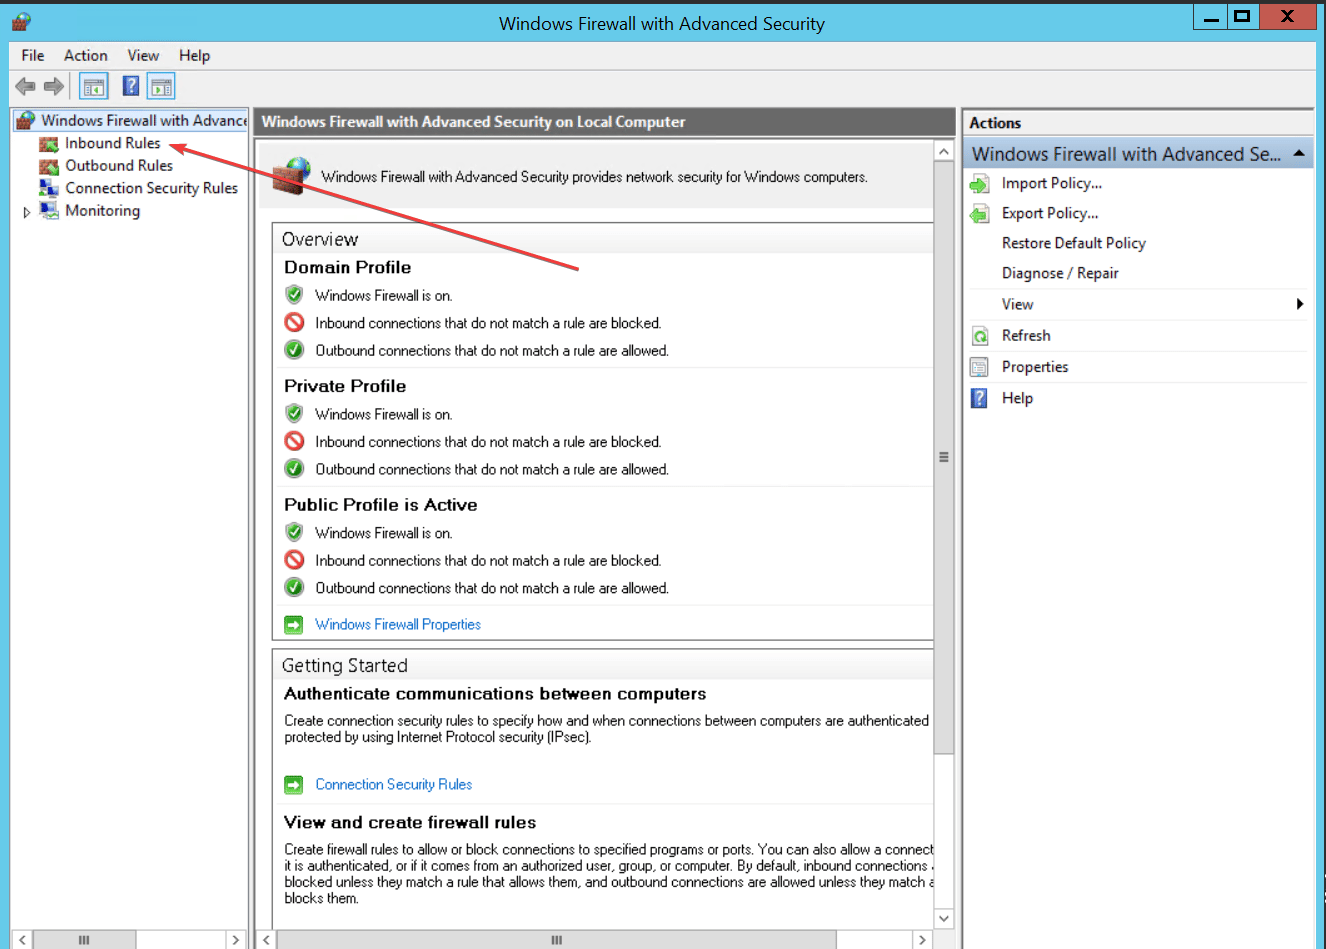
Step 2: Navigate to Inbound Rules
In the left console tree, click on Inbound Rules:
Step 3: Enable the ICMP Echo Request Rule
- In the middle rule list, scroll down to the File and Printer Sharing section.
- Locate the rule named: File and Printer Sharing (Echo Request – ICMPv4-In).
- Right-click on the rule and select Enable Rule:
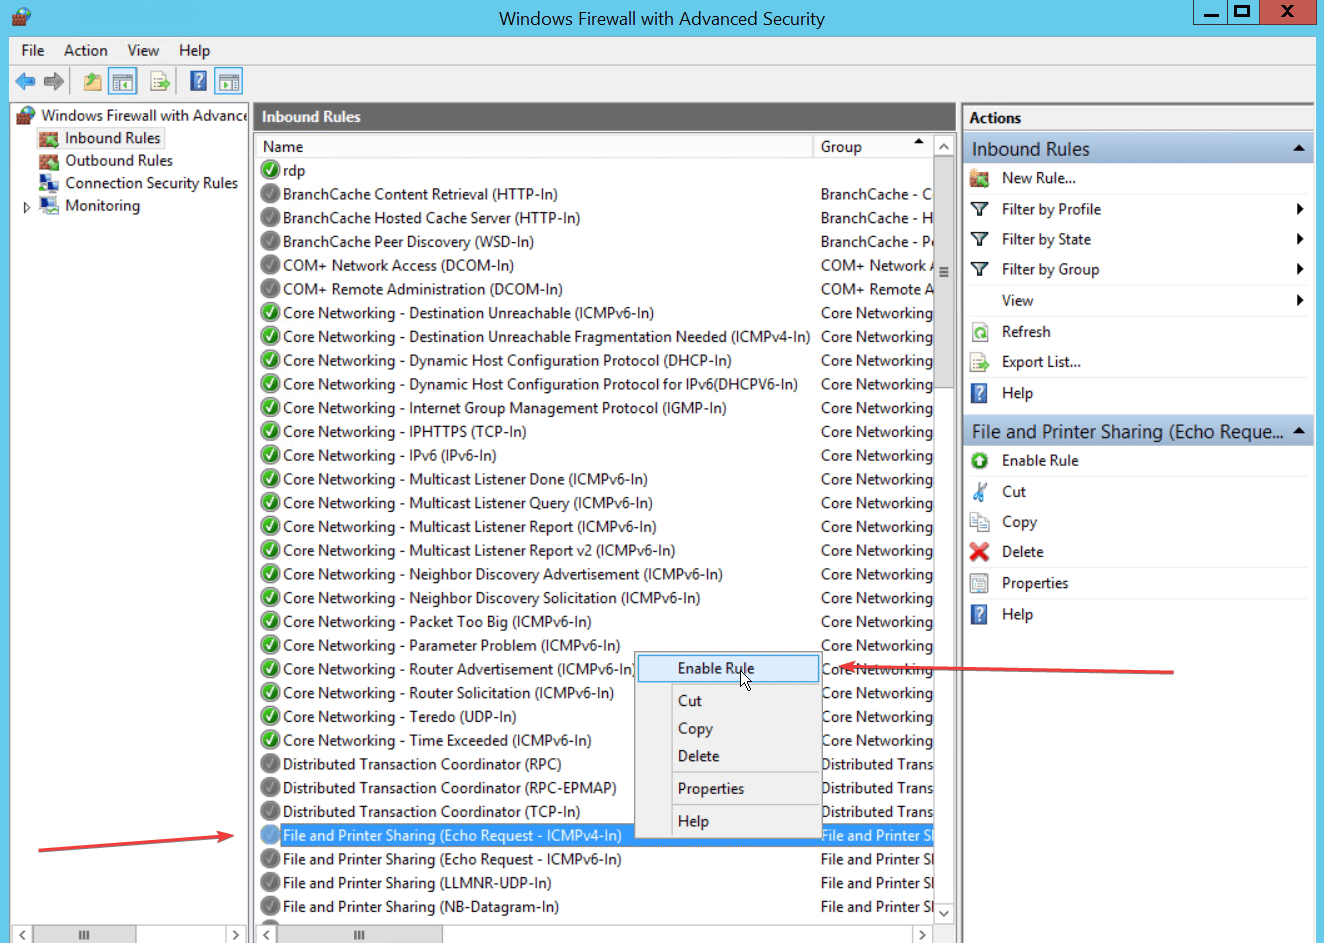
- The grey icon next to the rule will turn into a green checkmark, indicating that incoming ping requests are now allowed.
How to test and verify ping response
From your local computer (or terminal), open Command Prompt and ping your server’s IP address:
ping YOUR_SERVER_IPYou should immediately receive successful reply packets (e.g. Reply from YOUR_SERVER_IP: bytes=32 time=24ms TTL=128).
How to disable ping when testing is complete
To turn ping back off for maximum stealth after diagnostics:
# PowerShell
Disable-NetFirewallRule -DisplayName "File and Printer Sharing (Echo Request - ICMPv4-In)"

# CMD
netsh advfirewall firewall set rule name="File and Printer Sharing (Echo Request - ICMPv4-In)" new enable=No