When you upgrade your storage plan or purchase additional disk space for your Windows VPS, RDP server, or dedicated server, the new capacity is assigned to your virtual disk immediately on the hypervisor. However, Windows keeps this newly added capacity as Unallocated Space until you extend your existing C: drive or format it into a secondary data drive.
This step-by-step guide explains how to allocate unused storage using native Windows Disk Management or PowerShell across all modern Windows Server versions (2016, 2019, 2022, 2025) and Windows 10/11 without rebooting or losing any data.
When do you need to extend your hard drive?
- Storage Upgrades: You upgraded your VPS disk from 50 GB to 100 GB in your client portal.
- C: Drive Full Warning: Your Windows system partition is running low on free space and needs immediate expansion.
- Initial Setup: Provisioned disk size appears smaller in Windows Explorer because unpartitioned space is sitting idle.
Method 1: Extend volume using Windows Disk Management (GUI)
Step 1: Open Disk Management
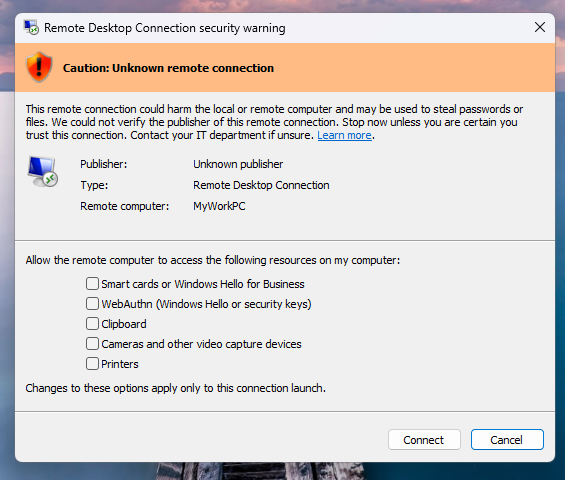
- Connect to your server over Remote Desktop (RDP) with Administrator rights.
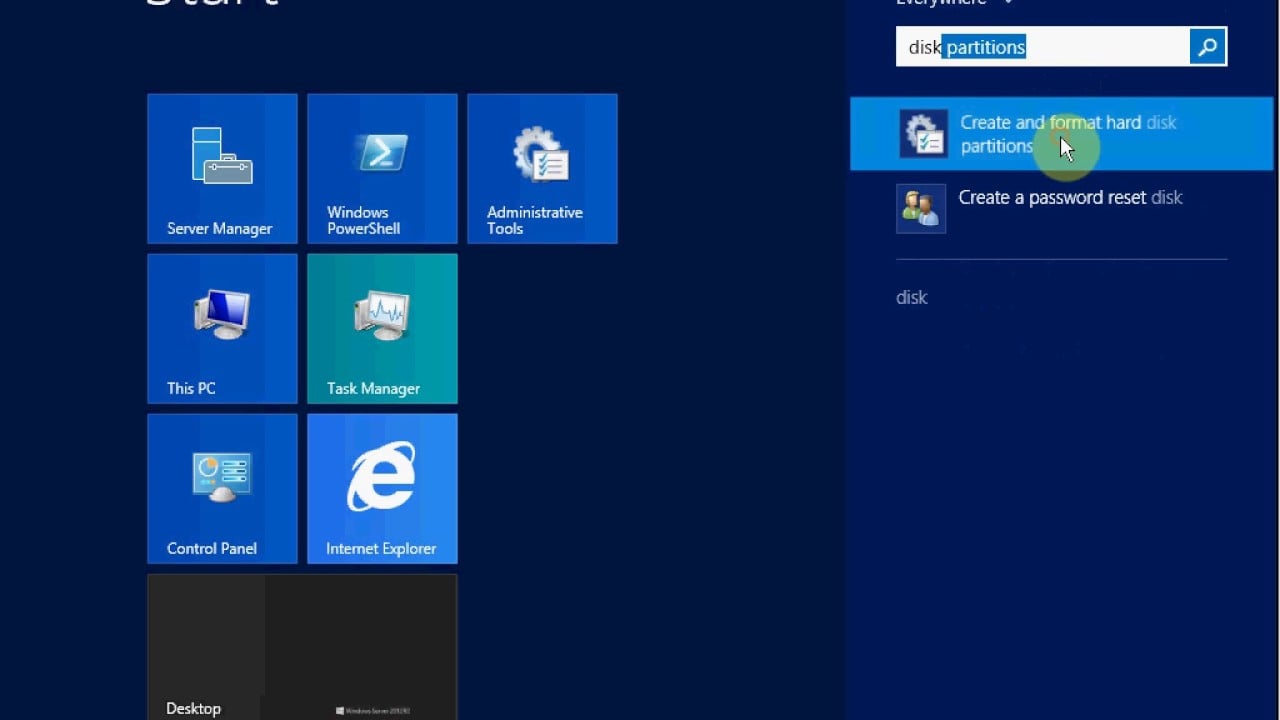
- Press Win + X on your keyboard and select Disk Management (or press Win + R, type
diskmgmt.msc, and hit Enter). - Alternatively, search for “Create and format hard disk partitions” in the Windows search bar:

Step 2: Locate your unallocated space
In the bottom pane of the Disk Management window, locate Disk 0. Next to your primary (C:) partition, you will see a black bar labeled Unallocated showing your extra gigabytes.
Tip: If the unallocated space does not appear immediately after an upgrade, click Action > Rescan Disks from the top menu bar.
Step 3: Extend your C: Drive
- Right-click on the (C:) partition box and select Extend Volume…:

- The Extend Volume Wizard window will open. Click Next.
- By default, Windows selects all available unallocated space. Leave the default maximum value selected and click Next.
- Click Finish. Your C: drive expands instantly with zero downtime.
Alternative: Create a separate secondary data drive (D:)
If you prefer keeping personal files, database logs, or backups separate from your Windows OS installation:
- In Disk Management, right-click directly on the black Unallocated space box.
- Select New Simple Volume….
- Click Next, specify volume size (or use full remaining space).
- Assign a drive letter (e.g.
D:orE:). - Select NTFS file system, leave allocation unit size as Default, enter volume label (e.g. Data), and click Finish.
Method 2: Extend disk instantly using PowerShell (Fastest)
For system administrators managing headless servers or running remote terminal scripts, you can extend your volume in one single command:
- Open PowerShell as Administrator.
- View current partition boundaries and maximum supported size:
Get-PartitionSupportedSize -DriveLetter C - Resize the partition to occupy all maximum available space:
Resize-Partition -DriveLetter C -Size (Get-PartitionSupportedSize -DriveLetter C).SizeMax
Troubleshooting: Why is “Extend Volume” greyed out?
In Windows Disk Management, the Extend Volume option is only clickable if the Unallocated space is positioned directly adjacent to the right of the partition you want to expand.
- Recovery Partition in between: On some default Windows installations, a 500MB Recovery Partition sits between C: and the Unallocated space.
- Fix: You can either use PowerShell commands above (which bypass the limitation), or use free disk tools like AOMEI Partition Assistant / MiniTool Partition Wizard to move the recovery partition to the end of the disk.