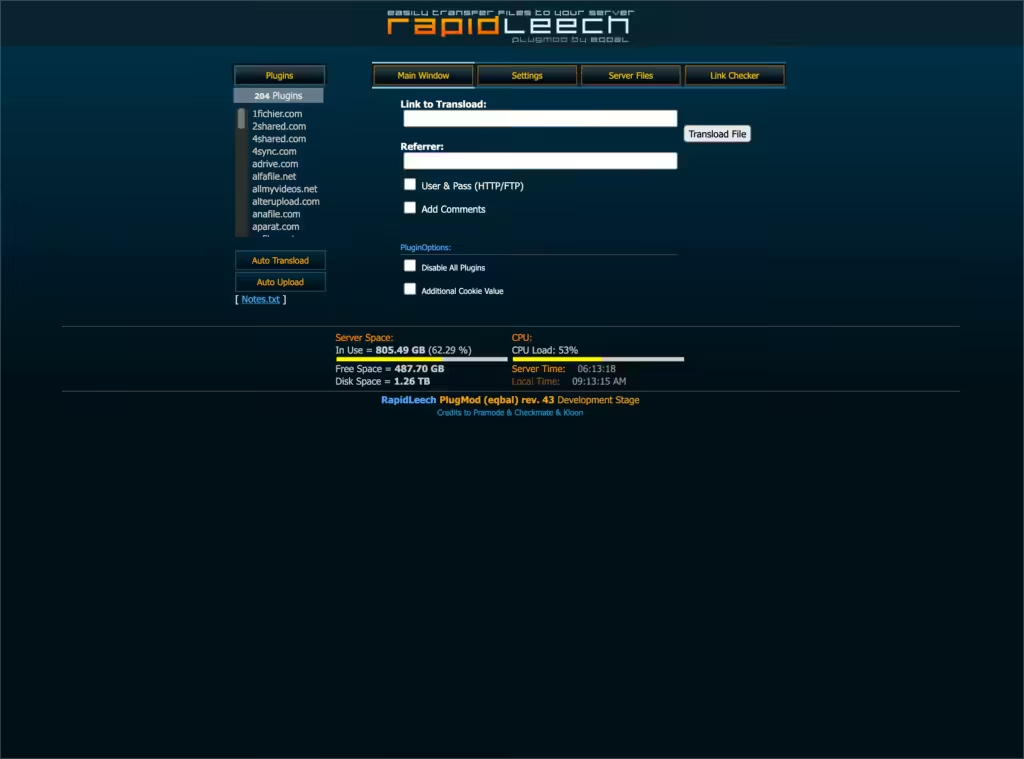
RapidLeech is a powerful script that allows your server to download files from various hosting sites and then “leech” them to your local computer. This guide has been modernized for Ubuntu 22.04/24.04 and Debian 11/12, using PHP 8.x and enhanced security.
Step 1: Update Your Server
Before installing software, we tell the server to refresh its package list and update existing software to ensure everything is secure.
apt update: Refreshes the available software list.apt upgrade -y: Installs the latest versions of your current software.
apt update && apt upgrade -y
apt install -y wget unzip curl apache2-utils
Step 2: Install Apache and PHP 8.x
Your server needs a way to “talk” to your browser (Apache) and a way to run the RapidLeech code (PHP). Modern systems use PHP 8.x, which is much faster and more secure than the old versions.
apache2: The web server software.php: The engine that runs the RapidLeech script.php-curl&php-gd: Necessary tools for handling downloads and images.
apt install -y apache2 php libapache2-mod-php php-curl php-gd php-xml php-zip php-mbstring
Step 3: Download and Extract RapidLeech
We will now download the RapidLeech files directly into your web folder.
cd /var/www/html: Moves you into the folder where your website files live.wget: Downloads the script from the source.unzip: Extracts the files so the server can use them.
cd /var/www/html
wget https://aminserve.com/dl/rapidleech-v2-rev43.zip
unzip rapidleech-v2-rev43.zip
rm rapidleech-v2-rev43.zip
mv rapidleech-v2-rev43 rapidleech 2>/dev/null || mv Rapidleech rapidleech
Step 4: Set Permissions
For RapidLeech to work, the “web user” (the server) needs permission to save files into the downloads folder.
chown: Makes the web server the “owner” of the files.chmod 777: Unlocks the “files” folder so downloads can be saved.
chown -R www-data:www-data /var/www/html/rapidleech
chmod 777 /var/www/html/rapidleech/files
Step 5: Password Protect Your Installation (Recommended)
Because RapidLeech uses your server’s bandwidth, you should lock it so only you can access it. We will create a username and password popup.
1. Create your login credentials:
Change admin to your preferred username. After running this, the server will ask you to type a password.
htpasswd -c /etc/apache2/.htpasswd admin
2. Tell Apache to require this password:
Open the configuration file:
nano /etc/apache2/sites-available/000-default.conf
Scroll to the bottom. Right above the </VirtualHost> line, paste this block of code:
<Directory "/var/www/html/rapidleech">
    AuthType Basic
    AuthName "Restricted Access"
    AuthUserFile /etc/apache2/.htpasswd
    Require valid-user
</Directory>
To save: Press CTRL+O, then Enter, then CTRL+X.
Step 6: Restart and Finish
To apply all your settings, restart the Apache service.
systemctl restart apache2
Accessing Your Script
You can now access your installation at:
http://YOUR-SERVER-IP/rapidleech/
A box will pop up asking for the username and password you created in Step 5.
Pro-Tip: RapidLeech saves downloads in /var/www/html/rapidleech/files. Be sure to delete old files occasionally so your VPS hard drive doesn’t run out of space!