Introduction
Do you need to access your Windows system remotely but can’t figure out how to enable RDP? You’re not alone! Many users struggle with configuring Remote Desktop Protocol (RDP) correctly.
In this comprehensive guide, you will learn how to enable RDP in Windows 2012, 2016, 2019, 2022, 10, and 11 using multiple methods. Whether you’re an IT administrator or a remote worker, follow these easy steps to set up RDP and troubleshoot common issues.
✅ How to Enable RDP in Windows 2012, 2016, 2019, 2022, 10, 11
Method 1️⃣: Using Server Manager
- Open Server Manager.
- Click on Local Server in the left panel.
- Locate Remote Desktop and click Disabled.
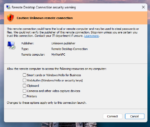
- In the System Properties window, select Allow remote connections to this computer.
- Click Apply and OK.
- Restart the server to apply changes.
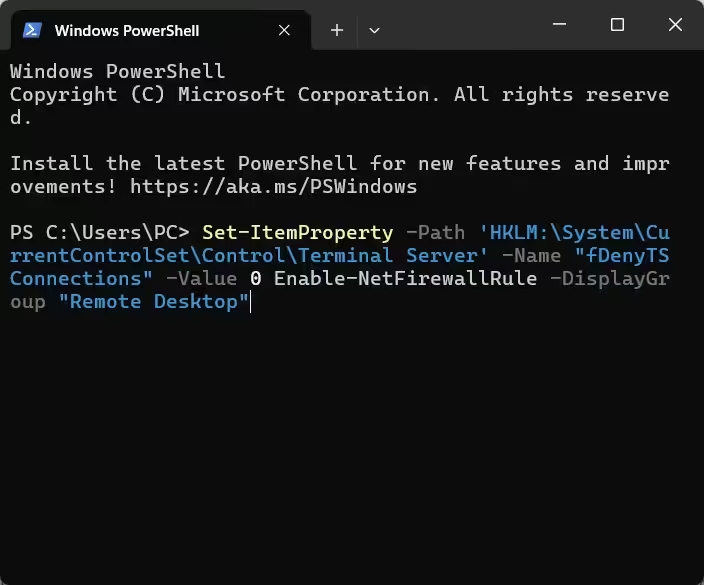
Method 2️⃣: Using PowerShell (Fastest Method)
Run the following command in PowerShell (Admin):
Set-ItemProperty -Path 'HKLM:\System\CurrentControlSet\Control\Terminal Server' -Name "fDenyTSConnections" -Value 0
Enable-NetFirewallRule -DisplayGroup "Remote Desktop"
✅ This method is ideal for automating the process across multiple servers.
Method 3️⃣: Using Group Policy (GPO)
- Press
Win + R, typegpedit.msc, and hit Enter. - Navigate to:
Computer Configuration > Administrative Templates > Windows Components > Remote Desktop Services > Remote Desktop Session Host > Connections - Double-click Allow users to connect remotely using Remote Desktop Services.
- Select Enabled, click Apply, then OK.
Method 4️⃣: Using Right-Click on This PC (All Windows Versions)
- Right-click on This PC or My Computer on the desktop or File Explorer.
- Select Properties.
- Click on Remote settings on the left panel.
- In the Remote Desktop section, select Allow remote connections to this computer.
- Click Apply and OK.
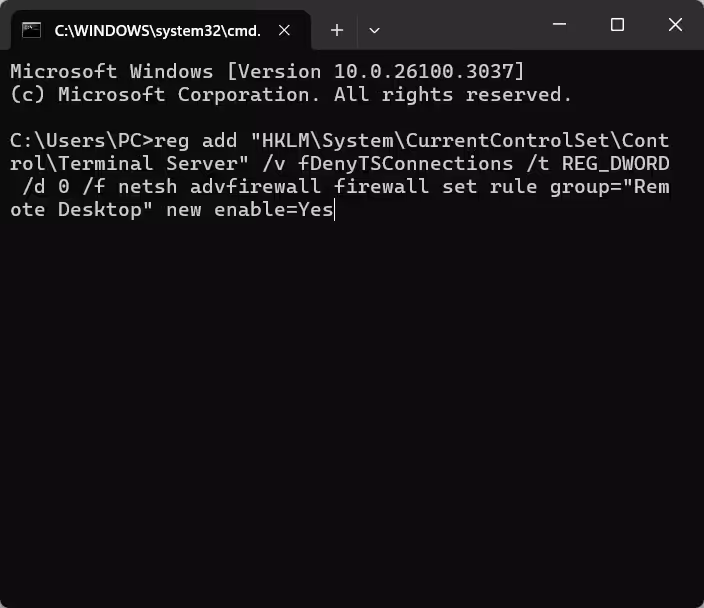
Method 5️⃣: Using Command Prompt (CMD)
Run this command in CMD (Admin):
reg add "HKLM\System\CurrentControlSet\Control\Terminal Server" /v fDenyTSConnections /t REG_DWORD /d 0 /f
netsh advfirewall firewall set rule group="Remote Desktop" new enable=Yes
✅ This ensures RDP is enabled and allowed through the firewall.
Firewall Configuration for RDP
To allow RDP through Windows Firewall, follow these steps:
- Open Windows Defender Firewall from Control Panel.
- Click Allow an app or feature through Windows Defender Firewall.
- Locate Remote Desktop and check both Private and Public networks.
- Click OK.
Or, use this PowerShell command:
Enable-NetFirewallRule -DisplayGroup "Remote Desktop"
⚠️ Troubleshooting RDP Issues
If you’re still unable to connect:
- ✅ Ensure RDP is enabled on the target system.
- ✅ Check firewall rules to confirm RDP is allowed.
- ✅ Verify network settings and ensure the PC is reachable.
- ✅ Restart Remote Desktop Services (
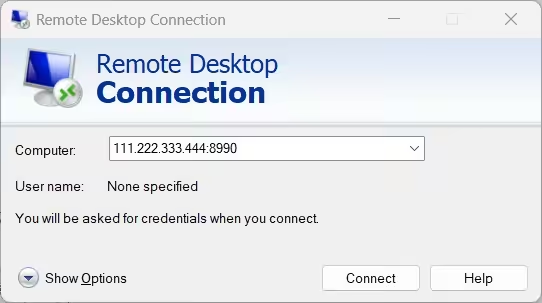
services.msc). - ✅ Try connecting via IP address instead of hostname.
For advanced troubleshooting, visit Microsoft’s official RDP documentation.
To fix your RDP follow this tutorial.
Final Thought
Enabling RDP on Windows 2012, 2016, 2019, 2022, 10, and 11 is easy using Server Manager, PowerShell, Settings, or Group Policy. By following this guide, you can configure secure remote access in minutes. ✅
Need more IT solutions? Subscribe to our newsletter for the latest Windows tips!