This tutorial will guide you through installing the full Ubuntu Desktop environment (GNOME) on an Ubuntu Server VPS and setting up XRDP for seamless remote access. This allows you to manage your VPS with a familiar graphical interface, just like a regular desktop computer.
Important Considerations Before You Start:
- Resource Usage: Running a full desktop environment like Ubuntu Desktop (GNOME) on a VPS is resource-intensive. A minimum of 4GB of RAM is highly recommended for a usable experience, with 8GB or more being ideal. If your VPS has less than 4GB of RAM (e.g., 1GB or 2GB), the desktop will be very slow and unresponsive due to constant memory swapping. For lower RAM, consider lighter desktop environments like XFCE or LXDE instead.
- Security: Running a GUI exposes more services and potential attack vectors. Ensure your VPS and network are properly secured.
- Purpose: Installing a desktop environment adds overhead. If your VPS is primarily for server-side applications (web server, database, etc.), a GUI might be unnecessary and consume valuable resources.
Step 1: Connect to Your VPS via SSH
First, establish a secure shell (SSH) connection to your Ubuntu Server VPS.
1. Open your terminal (Linux/macOS) or an SSH client like PuTTY (Windows).
2. Use the following command, replacing your_username with your VPS username and your_vps_ip_address with your server’s IP address:
ssh your_username@your_vps_ip_address
3. Enter your password when prompted.
—
Step 2: Update Your System
It’s always a good practice to update your package lists and upgrade any installed software before making significant changes.
sudo apt update
sudo apt upgrade -y
—
Step 3: Install Ubuntu Desktop
Now, install the ubuntu-desktop meta-package. This will pull in GNOME and all the default applications that come with a standard Ubuntu Desktop installation.
Please note: This step involves downloading and installing a very large number of packages. This process can take up to 15 minutes or more depending on your VPS’s internet speed and processing power. Please be patient.
sudo apt install ubuntu-desktop -y
—
Step 4: Configure Swap Space (Crucial for Lower RAM VPS)
Even with 4GB RAM, having swap space is highly beneficial to prevent out-of-memory issues and improve stability, especially if you’re running a few applications simultaneously. If your VPS has 8GB+ RAM, this step is less critical but still good practice.
1. **Check if swap already exists:**
sudo swapon --show
If this command returns no output, you need to create a swap file.
2. **Create a 2GB swap file** (adjust size as needed, e.g., 4G for a 4GB VPS):
sudo fallocate -l 2G /swapfile
3. **Set correct permissions** for the swap file:
sudo chmod 600 /swapfile
4. **Set up the swap area:**
sudo mkswap /swapfile
5. **Enable the swap file:**
sudo swapon /swapfile
6. **Make the swap file persistent** across reboots:
echo '/swapfile none swap sw 0 0' | sudo tee -a /etc/fstab
—
Step 5: Install and Configure XRDP
XRDP is a server that implements Microsoft’s Remote Desktop Protocol (RDP), allowing you to connect to your Ubuntu desktop using standard RDP clients. It generally offers a smoother experience for full desktops than VNC.
1. **Install XRDP:**
sudo apt install xrdp -y
2. **Enable and start the XRDP service:**
sudo systemctl enable xrdp
sudo systemctl start xrdp
XRDP typically runs on port 3389.
3. **Add XRDP user to ssl-cert group:** This step is often necessary to prevent a blank screen when connecting to GNOME with XRDP.
sudo adduser xrdp ssl-cert
—
Step 6: Configure Firewall (if applicable)
If you are using ufw (Uncomplicated Firewall) on your Ubuntu VPS, you need to open port 3389 to allow incoming RDP connections.
1. **Check UFW status:**
sudo ufw status
- If UFW is active and configured: Proceed with the following commands to allow RDP.
sudo ufw allow 3389/tcp
sudo ufw reload
Important: If you have enabled
ufwin the past, ensure that your SSH port (default 22) is also allowed, otherwise you might lock yourself out. (e.g.,sudo ufw allow ssh). - If UFW commands (like
sudo ufw status) return “command not found” or indicate UFW is not installed/inactive: This meansufwis not configured on your system, and these steps are not applicable. You can skip to Step 7.
Note: Regardless of your local VPS firewall (ufw), if your VPS provider has its own network-level firewall or security groups (e.g., AWS Security Groups, Google Cloud Firewall Rules, DigitalOcean Firewalls), you must also open port 3389 in their control panel. This is a very common oversight.
—
Step 7: Reboot Your VPS
It’s highly recommended to reboot your VPS after such significant system changes to ensure all new services and configurations are loaded correctly.
sudo reboot
You will be disconnected from your SSH session. Wait a few minutes for the VPS to restart completely.
—
Step 8: Connect to Your Ubuntu Desktop Remotely
Now, you can connect to your Ubuntu Desktop using an RDP client from your local computer.
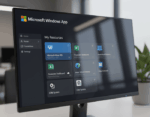
- Windows: Search for “Remote Desktop Connection” in the Start Menu.
- macOS: Download “Microsoft Remote Desktop” from the App Store.
- Linux: Use a client like
Remmina(sudo apt install remminaon Debian/Ubuntu-based systems).
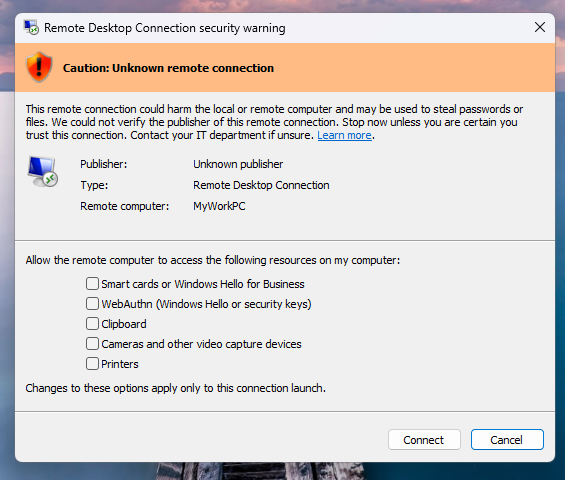
1. Open your RDP client.
2. Enter your VPS IP address.
3. Click “Connect”.
4. You will be presented with an XRDP login screen.
- Session: Leave it as “Xorg” (default).
- Username: Enter your VPS username (the same one you use for SSH).
- Password: Enter your VPS password.
5. Click “OK”.
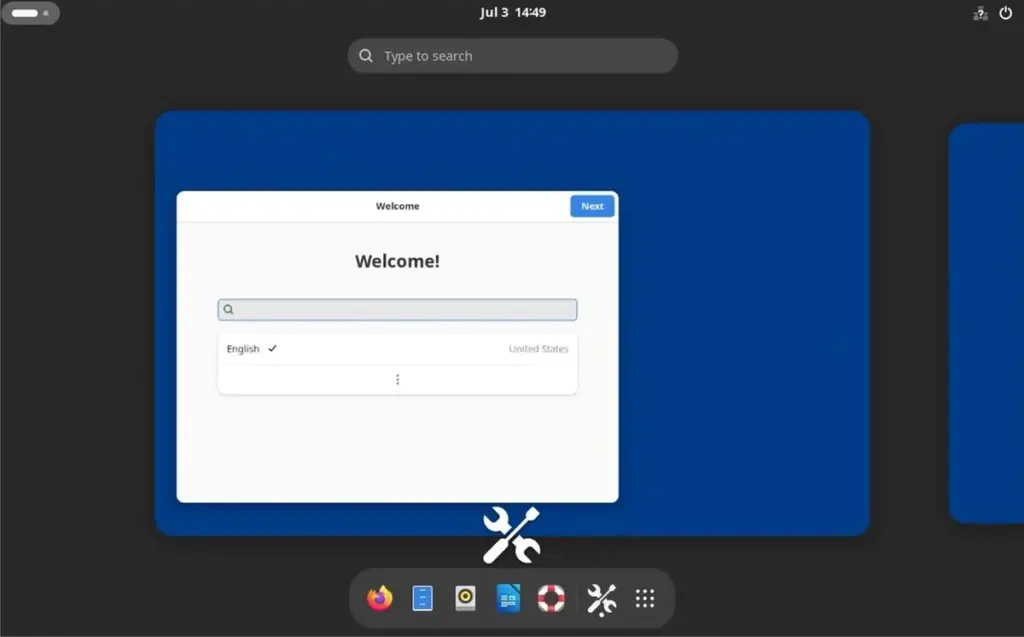
After a moment, you should see your full Ubuntu Desktop environment appear! Firefox and other default applications should now be available and launch correctly.