BlueKeep (CVE-2019-0708) is a critical remote code execution vulnerability in Microsoft’s Remote Desktop Protocol (RDP) implementation that allows unauthenticated attackers to execute arbitrary code with full system-level privileges. Rated with a maximum CVSS score of 9.8, BlueKeep is wormable—meaning malware can spread automatically from one vulnerable server to another across the internet without any human interaction.
If you manage a Windows VPS, RDP host, or dedicated server, understanding how to verify patch status, enable Network Level Authentication (NLA), and close vulnerable RDP vectors is critical for maintaining server security.
What is BlueKeep (CVE-2019-0708) and how does it work?
BlueKeep exploits a Use-After-Free (UAF) memory corruption flaw in termdd.sys (the kernel-mode Remote Desktop device driver). When an external client connects to an RDP endpoint over TCP port 3389:
- The attacker initiates an RDP handshake and requests access to an internal static channel named
MS_T120. - Because the driver fails to properly bind channel structures during the pre-authentication phase, specially crafted network packets trigger a memory corruption in kernel space.
- The attacker achieves full Ring-0 / SYSTEM level code execution without possessing any valid usernames or passwords.
Which Windows versions are affected?
- Directly Vulnerable (Pre-patch): Windows Server 2008 R2, Windows Server 2008, Windows 7, Windows XP, and Windows Server 2003.
- Modern Windows Systems (Secure): Windows Server 2016, 2019, 2022, 2025, Windows 10, and Windows 11 were built with redesigned RDP architectures and are not vulnerable to BlueKeep. However, following the security hardening best practices below remains essential for protecting against newer CVEs.
Step-by-step: How to protect your Windows server against BlueKeep
Step 1: Install official Microsoft security patches
Microsoft released emergency out-of-band updates across all affected platforms. To ensure your system is patched:
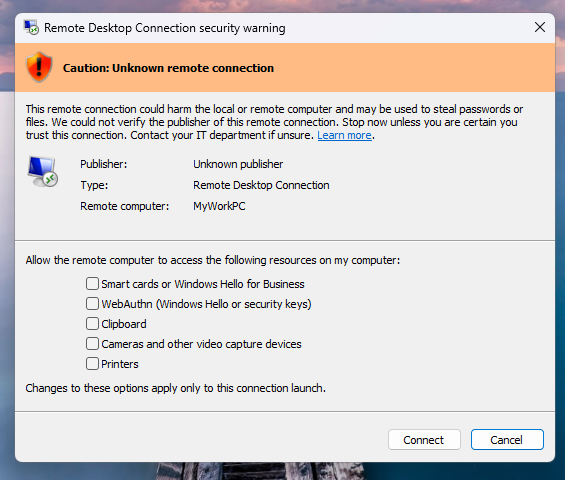
- Log in to your server via Remote Desktop with Administrator privileges.
- Open Settings > Update & Security > Windows Update (or Server Manager > Local Server > Windows Update).
- Click Check for updates and install all available cumulative security updates (such as KB4499175 / KB4499180 depending on OS build).
- Reboot the server to finalize patch installation.
Step 2: Enable Network Level Authentication (NLA)
Network Level Authentication forces connecting clients to authenticate with valid Windows credentials before an RDP session channel is established with the kernel driver. This completely mitigates unauthenticated wormable exploits like BlueKeep:
- Press Win + R, type
sysdm.cpl, and hit Enter to open System Properties. - Navigate to the Remote tab.
- Under Remote Desktop, ensure the following checkbox is ENABLED: “Allow connections only from computers running Remote Desktop with Network Level Authentication (recommended)”.
- Click Apply and OK.
Enable NLA via PowerShell (1-Line Command):
(Get-WmiObject -Class Win32_TSGeneralSetting -Namespace root\cimv2\TerminalServices -Filter "TerminalName='RDP-Tcp'").SetUserAuthenticationRequired(1)Step 3: Change the default RDP port from 3389
Automated exploit worms scan port 3389 across public internet ranges. Changing your RDP listening port to a custom high port eliminates automated scanner traffic. Follow our step-by-step RDP port changing guide.
Step 4: Use a VPN for secure administrative access
For maximum protection, avoid exposing Remote Desktop ports directly to the public internet. Use a dedicated VPN to establish a secure encrypted tunnel before launching Remote Desktop.
How to check if your server is vulnerable
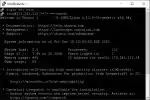
You can verify that NLA is active from any remote terminal or client using nmap:
nmap -p 3389 --script rdp-enum-encryption,rdp-ntlm-info YOUR_SERVER_IPIf NLA is enabled, the output will list CredSSP (NLA): SUCCESS and reject unauthenticated handshake probes.